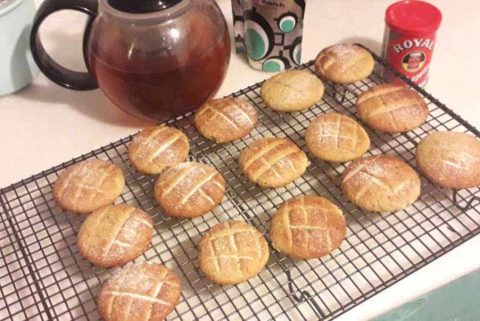
Flour-Free Almond Cookies
Flour Free Amond Cookies
These delicate beauties, made with just almonds, butter, eggs and sugar or stevia are deliciously sweet, light and crisp and gluten-free, and contribute a good bit of protein to round off any vegetarian or vegan meal
The main requirement is that your “flour” must be very finely ground, Ground almonds, for example, are too coarse and you’ll end up with rough looking cookies which haven’t risen properly
The good news is that you can simply grind whole or partially ground nuts and seeds in a coffee grinder for silky smooth results. I’ve used sun-flour seeds, melon seeds (egusi), hemp seeds, pumpkin seeds and hazelnuts in any combination. When using whole almonds I leave the skins on. What is this obsession with cakes having to be white?
Some are very precise with measurements when baking. In Spain we accept that things like eggs come in all shapes and sizes, and tend to start with the liquid ingredients, adding dry ingredients in the necessary quantities for the right consistency. For you, dear reader, I’ve given the “correct” weights and measures
The recipe uses eggs and butter. For a vegan version substitute coconut or other oil for butter and add a splash of nut, oat or soy milk in place of egg
- 100 g butter at room temperature (vegan = coconut oil, vegan butter, etc)
- 1 egg (vegan = non-dailry mild eg oat)
- 70 g non-sugar sugar (eg (xylitol) or honey, agave nectar, stevia or other sweetener to taste
- 220 g almond flour
- pinch of salt
- 1 tsp baking powder
- a few drops of vanilla essence (optional)
- melt the butter
- put the dry ingredients into a bowl
- add in the melted butter, egg and vanilla essence, if using
- mix with a soft spatula making and folding movements until well amalgamated into a soft paste
- put into a sandwich bag or wrap in parchment and rest in the refrigerator for at 30 minutes or longer
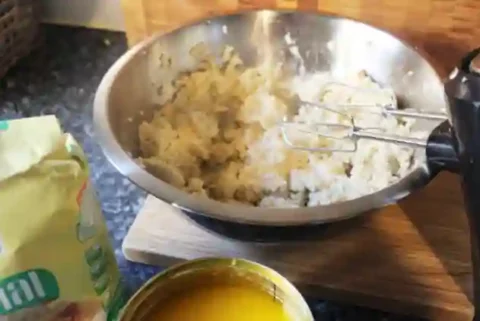
- cream the butter and sugar in a bowl
- mix in th egg and vanilla essence (if using)
- add in all the dry ingredients
- mix to a paste
- You can proceed right away but the mixture will benefit from resting in the refrigerator r for 20-30 minutes
- shape the cookie dough into a rough circle with your hands and cut into 16 segments
- roll each segment into a ball and flatten slightly between your palms. Place on a baking sheet lined with grreased parchment paper
- optionally brush your cookies with "milk" or beaten egg
- bake at 180 C for 12-15 minutes
- let them cool slightly on the baking sheet before transferring them to a cooling rack or a servid dish
- enjoy with some really good tea
Notes
Subscribe To Posts